 Max Gibson
Printer: Bambu Lab X2D
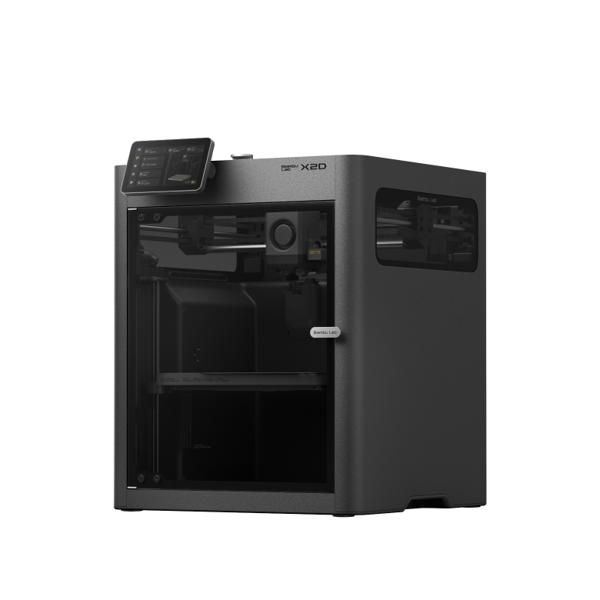
Concept assembly guide derived from the staged build plan. Not a certified engineering drawing. Prices are estimates (Oct 2026); nothing here is a purchase. Every step and every BOM line links to the part. Downloads: step-by-step PDF · BOM PDF
Step-by-step build (one action per step)
Stage 1
- Unbox the X2D and remove all transport screws/foam.Part X1: Bambu Lab X2D 3D printer ×1 · ~$899 · Buy: Bambu Lab store
- Level the printer on a solid table and run the setup calibration.Part X1: Bambu Lab X2D 3D printer ×1 · ~$899 · Buy: Bambu Lab store
- Install the textured PEI plate.Part X5: Textured PEI build plate (spare) ×1 · ~$35 · Buy: Amazon search
- Load PETG; print a test bracket.Part X2: PETG filament 1 kg (brackets, mounts) ×1 · ~$20 · Buy: Amazon search
- Load TPU in the second nozzle; print a gripper finger.Part X3: TPU filament (gripper fingers, dampers) ×1 · ~$30 · Buy: Amazon search
- Dry and load nylon; print in the heated chamber.Part X4: Nylon / PA filament (high-strength) ×1 · ~$40 · Buy: Amazon search
Bill of materials
| ID | Stage | Part | Qty | Price | Buy |
|---|---|---|---|---|---|
| X1 | Stage 1 | Bambu Lab X2D 3D printer | 1 | ~$899 | Bambu Lab store |
| X2 | Stage 1 | PETG filament 1 kg (brackets, mounts) | 1 | ~$20 | Amazon search |
| X3 | Stage 1 | TPU filament (gripper fingers, dampers) | 1 | ~$30 | Amazon search |
| X4 | Stage 1 | Nylon / PA filament (high-strength) | 1 | ~$40 | Amazon search |
| X5 | Stage 1 | Textured PEI build plate (spare) | 1 | ~$35 | Amazon search |
"Amazon search" links open a search for that exact part spec; no listing has been chosen and no affiliate tag is used. Nothing has been purchased.